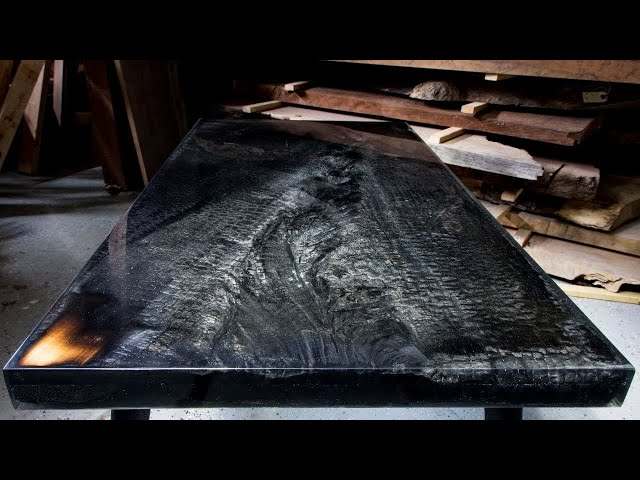
Sand Down Burnt Epoxy on a Table
Epoxy resin can carbonize and turn black when exposed to high temperatures (above 150°C), creating unsightly burn marks. Here are safe and effective removal solutions, divided into light sanding and deep removal methods based on the burn mark’s depth, restoring your tabletop to a flawless finish.
I. Assess the Damage
| Type of Damage | Characteristics | Repair Method |
|---|---|---|
| Light Burn | Black spots, no depression, only surface carbonization | Direct sanding and polishing (Method 1) |
| Deep Burn | Depressed pits, carbonized layer >1mm, lifted edges | Cut out + localized re-casting (Method 2) |
II. Prepare Your Repair Tools
- Safety Gear: N95 mask, safety goggles, cut-resistant gloves (resin debris can be sharp!).
- Sanding Tools:
- Angle grinder (with 60-120 grit sanding disc) or sandpaper (60 grit → 3000 grit)
- Scraper, utility knife
- Repair Materials: Matching epoxy resin, color pigment (if needed), heat gun
- Polishing Tools: Polishing compound, wool pad, small vacuum cleaner
III. Method 1: Light Burn Mark Sanding (1-2 Hours)
▶ Step 1: Coarse Sanding to Remove Carbonization
- Dry sand the burnt area with 60-80 grit sandpaper/disc (avoid heat that could soften the resin).
- Sand in one direction, following the resin’s “grain” if visible, until the black discoloration disappears and a flat base is exposed.
- Caution: Do not over-sand! Check flatness by hand every 30 seconds.
▶ Step 2: Fine Polishing
- Progressively increase sandpaper grit:
- 120 grit → 240 grit (to remove coarse sanding marks)
- 400 grit → 800 grit (wet sanding; continuously rinse with water while sanding)
- Apply polishing compound and use a wool pad with a rotary polisher to restore the mirror finish.
- Result: This method is effective for shallow damage where the burn hasn’t penetrated deep, leaving virtually no trace after repair.
IV. Method 2: Deep Burn Cut-Out and Recasting (6-24 Hours)
▶ Step 1: Cut Out the Carbonized Section
- Use a utility knife to carefully cut a neat, square channel around the burnt mark (depth should be >2mm deeper than the burn).
- Angle the channel walls at 45° (this increases the adhesion surface for the new resin).
▶ Step 2: Clean and Prime
- Use a vacuum cleaner to remove all debris, then wipe the channel thoroughly with alcohol.
- Apply a thin coat of resin as a primer and let it cure for 1 hour.
▶ Step 3: Layered Resin Recasting
- Mix Matching Color: Use your original resin + a color pigment to match the tabletop (test on a small sample first).
- Pour in Layers:
- First Layer: Fill the channel to about 80% of its depth. Use a heat gun to debubble.
- Second Layer: After the first layer cures, fill the remaining depth, slightly overfilling (to allow for sanding).
- Key Point: The repair layer’s thickness should ideally match the original resin’s thickness to prevent visible boundaries.
▶ Step 4: Sanding and Polishing
- After 24 hours of curing, sand the raised areas flat with 120-grit sandpaper.
- Wet sand progressively from 800-grit → 3000-grit, then use polishing compound to restore the luster.
V. Preventing Repair Failures
| Problem | Cause | Prevention Measures |
|---|---|---|
| Whitening in repair area | Moisture or dust contamination | Maintain humidity <60% + use a dust cover |
| New/old resin separation | Unbeveled cut / no primer coat | Cut a 45° bevel + apply resin primer |
| Scratches remain after polishing | Skipping grit steps during sanding | Strictly follow the sequence: 60→120→240→400→800→3000 grit |
VI. Ultimate Advice
- For light burn marks, prioritize the sanding method; it’s low-risk and quick.
- When deep recasting is necessary, always use the same brand of resin as the original (different brands may have varying shrinkage rates, leading to cracking).
- For 72 hours after repair, avoid placing hot items on the new resin (new resin’s heat resistance stabilizes only after full cure).